
Which premium pellet grill conquered -44°F testing while slashing fuel costs in half during cold-weather smoking?

10 Best GPS-Guided Robotic Mowers for Large Yards
Uncover which GPS robotic mower conquered my 5-acre slope test while others failed in ways that shocked me.

Portable Power Stations: Lithium-Ion vs. LiFePO4 Explained
Wondering which portable power station battery lasts longer and saves money—lithium-ion or LiFePO4—before your next adventure or emergency strikes?
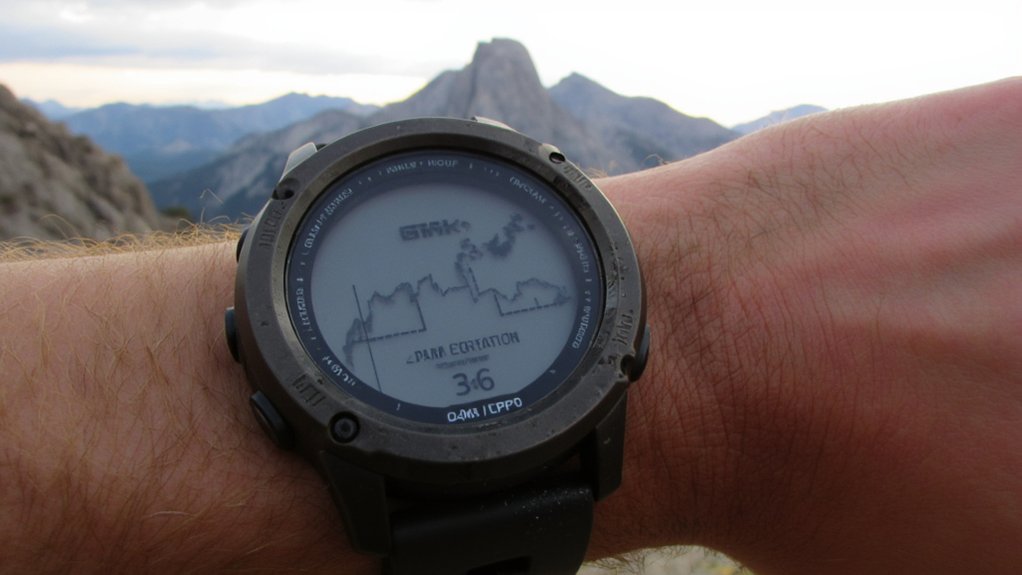
What Is a Rugged GPS Watch and Do You Really Need One?
A rugged GPS watch is a premium outdoor device built with military-grade materials, extended battery life, and topographic mapping capabilities, typically costing $400–$1,200. I’ll be direct: you need one if you’re a trail runner, backcountry hiker, or extreme athlete who ventures into remote areas where durability and navigation are critical. If you’re a casual exerciser or weekend warrior, a basic fitness tracker will suffice. The premium features—sapphire crystal displays, 100m+ water resistance, and satellite mapping—justify the cost only when your adventures demand them. Let me break down exactly what separates these devices from regular options.
Who Needs a Rugged GPS Watch? Trail Runners, Hikers, and Extreme Athletes

How do you know if you’re the type of person who actually needs a rugged GPS watch?
I’ll break it down simply.
If you’re a trail runner finding your way through remote paths where trail safety is critical, you need reliable navigation and tracking.
Hikers tackling multi-day backcountry routes benefit from weather resistance and extended battery life.
Extreme athletes—think ultra-marathoners, mountain climbers, or adventure racers—require durability that withstands harsh conditions.
You’ll also want to weigh gear compatibility with your existing equipment.
Consider whether you need features like topographic maps for detailed terrain visualization during your outdoor adventures.
If your activities regularly push you beyond cell service into challenging terrain, a rugged GPS watch isn’t just nice to have—it’s essential safety equipment.
When Basic Fitness Trackers Meet Your Needs Without the Premium
While rugged GPS watches offer impressive capabilities, most weekend warriors and casual exercisers don’t need them.
If you’re tracking daily steps, monitoring basic heart rate, and logging occasional runs, a budget comparison reveals standard fitness trackers deliver these functions at a fraction of the cost.
The feature gaps between premium and basic devices matter less when you’re not trekking backcountry trails or enduring extreme conditions.
I’ve found that paying $400-800 for military-grade durability and advanced mapping makes little sense if you’re primarily exercising at your local gym or neighborhood park.
Unless you’re venturing into remote areas where you’d need satellite communication devices to send emergency signals, the connectivity features of premium GPS watches remain largely unused.
Rugged vs. Regular GPS Watches: What Makes Them Different
Understanding the distinction between rugged and regular GPS watches comes down to three core differences: construction, environmental protection, and specialized features.
The durability contrasts are significant—rugged models use reinforced bezels, sapphire crystal displays, and military-grade materials like titanium or fiber-reinforced polymer.
Regular GPS watches typically feature standard glass and plastic casings.
Material differences extend to water resistance ratings (often 100m+ versus 50m), temperature tolerances, and shock resistance.
Rugged watches include altimeters, barometers, and extended battery life for multi-day expeditions.
Regular models focus on everyday fitness tracking without extreme-condition capabilities.
These distinctions directly impact price and functionality.
When evaluating water resistance, understanding IPX waterproofing ratings helps you match the watch’s protection level to your specific adventure conditions, from light rain exposure to full submersion scenarios.
Battery Life, Mapping, and Military-Grade Durability: What You’re Paying For
When you’re evaluating rugged GPS watches in the $400-$1,200 range, you’re primarily paying for three premium features that separate them from budget alternatives.
First, extended battery life enables multi-day expeditions without recharging.
You’ll face battery tradeoffs between GPS accuracy modes and runtime—precision tracking drains power faster.
Second, topographic mapping with preloaded trail data replaces traditional maps and compasses.
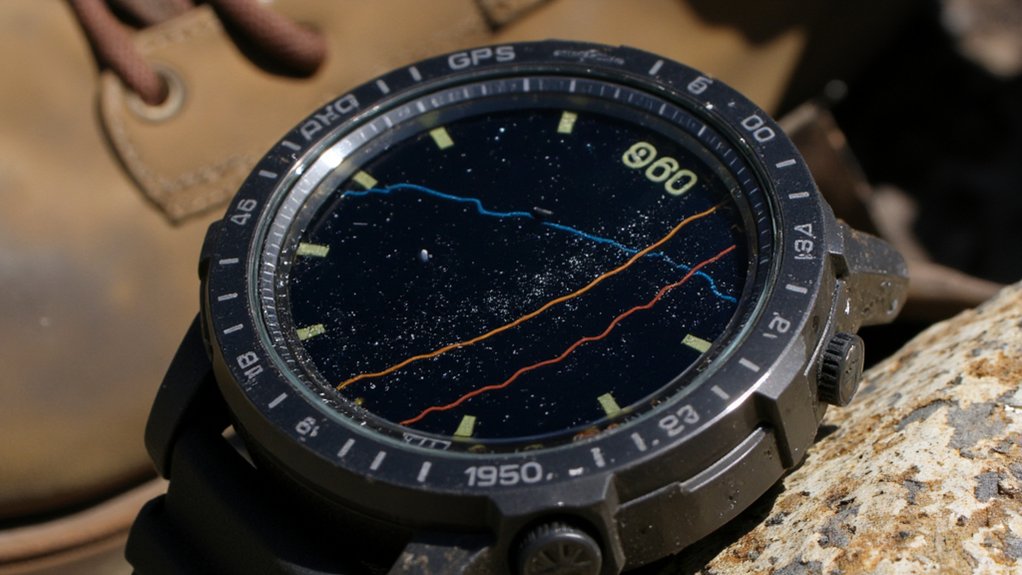
Third, military-grade durability (MIL-STD-810 certification) guarantees your watch survives extreme temperatures, shocks, and water immersion.
This durability pricing reflects rigorous testing and premium materials like sapphire crystal displays and reinforced titanium bezels that withstand punishment regular watches can’t handle.
For extended backcountry trips where charging isn’t possible, some adventurers pair their GPS watches with portable solar panel systems to maintain power independence.
How Much Does a Quality Rugged GPS Watch Cost?
Quality rugged GPS watches typically cost between $400 and $1,200, with the sweet spot around $600-$700 for most outdoor enthusiasts.
I’ve found these price ranges reflect the technology you’re getting—advanced sensors, satellite connectivity, and durable construction don’t come cheap.
Brand pricing varies substantially: Garmin dominates the market with options from $450-$1,000, while Suunto and COROS offer competitive alternatives.
You’ll pay premium prices for features like topographic maps, multi-band GPS, and extended battery modes.
Budget models under $400 exist, but they often sacrifice mapping capabilities and durability that define truly rugged watches.
5 Questions to Ask Before Investing in a Rugged GPS Watch
Before you spend $600 or more on a rugged GPS watch, I recommend asking yourself several pointed questions to guarantee you’re making the right investment.
Will you actually use the advanced features that justify premium price ranges?
Does the brand reliability match your durability needs?
Can your smartphone handle most navigation tasks instead?
Do you need military-grade toughness, or would a basic fitness tracker suffice?
Will you maintain and update the device regularly?
Does the battery life align with your adventure duration?
Honestly answering these questions prevents buyer’s remorse and ensures you purchase what you’ll actually use.
Conclusion
I’ve walked you through the world of weatherproof wonders, from battery basics to budget boundaries. Now you need to decide: Does your outdoor obsession demand durable, dependable data tracking, or will a basic band suffice? Consider your conditions carefully—the trails you tackle, the terrain you traverse, the time you spend seeking summits. Whether you’re a weekend warrior or wilderness wanderer, choose wisely. Your wrist deserves the right watch for your wild adventures.
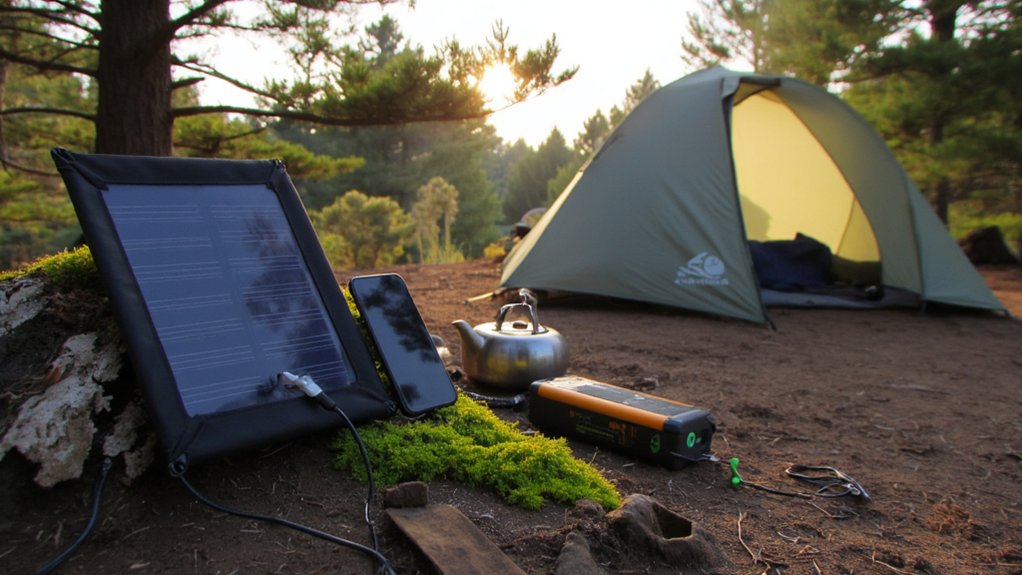
The Beginner’s Guide to Portable Solar Power for Camping
I’ll help you size a portable solar setup by first calculating your daily power needs—list each device’s wattage and multiply by hours of use, then add a 25% buffer. A 100-watt panel generates about 400 watt-hours on sunny days, enough for most weekend trips. You’ll need three main components: a solar panel to capture energy, a battery to store it, and a charge controller to prevent overcharging. Below, I’ll walk you through choosing between all-in-one generators versus building your own system, plus maintenance tips to keep everything running smoothly.
How Much Solar Power Do You Really Need While Camping?
How do you calculate your actual power needs before investing in a solar setup?
I recommend starting with power budgeting—list every device you’ll charge and its wattage.
Your phone draws about 5-10 watts, a laptop 50-60 watts, and LED lights 5-15 watts.
Multiply each device’s wattage by daily usage hours to find your total watt-hours needed.
Most weekend campers need 100-200 watt-hours daily, while extended trips with heavier camping loads require 300-500 watt-hours.
Add 25% buffer for cloudy days and inefficiencies.
Once you know your power requirements, you can select the right solar panel types and wattage to match your consumption.
This calculation prevents overspending on excessive capacity or frustrating power shortages mid-trip.
What Each Component Does: Panels, Batteries, and Charge Controllers
Understanding what each component actually does will save you from buying incompatible gear or creating safety hazards.
The panel purpose is converting sunlight into electrical current.
Your battery function involves storing that energy for later use when the sun isn’t shining.
The charge controller sits between them, preventing overcharging that damages batteries and ensuring best charging rates.
Think of it as a traffic cop managing power flow.
Without proper coordination between these three components, you’ll face reduced efficiency, shortened battery life, or complete system failure.
Each piece plays a critical role in your camping power setup.
Before purchasing any components, calculate your total watt-hour consumption from all devices you plan to run to properly size your entire system.
Matching Solar Panel Wattage to Your Power Budget
Now that you know how panels, batteries, and charge controllers work together, you need to determine the right panel size for your actual power needs.
Proper panel sizing starts with calculating your daily watt-hours.
List every device you’ll charge, multiply its watts by hours used, then add 20% for inefficiency.
A 100-watt panel generates roughly 400 watt-hours on sunny days.
Cost tradeoffs matter here—bigger panels recharge faster but weigh more and cost more.
I recommend starting with your must-have devices, then deciding if convenience items justify additional panel capacity and expense.
Complete Solar Generators vs. Separate Battery Setups
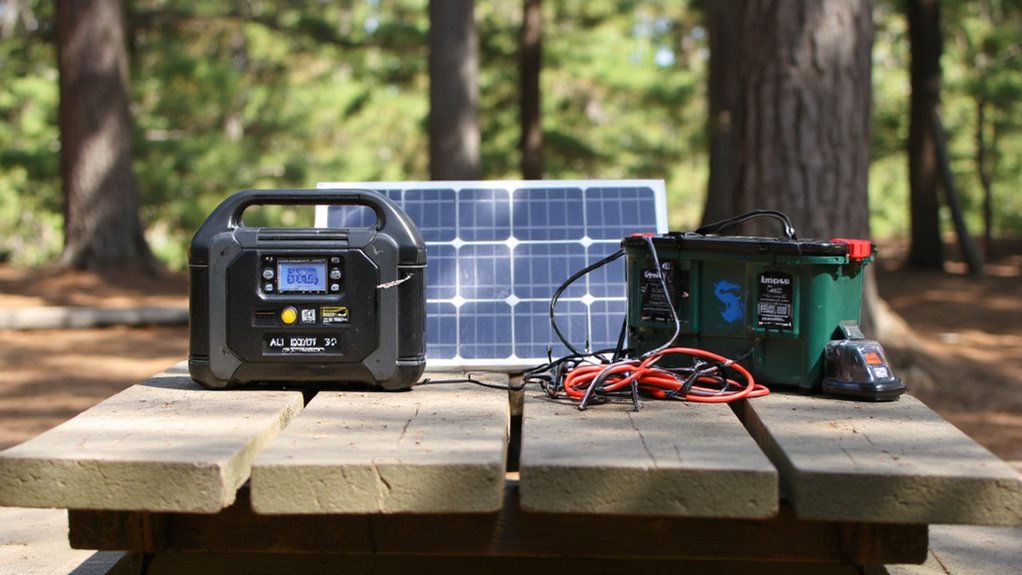
Once you’ve sized your power needs, you’ll face a critical purchasing decision: buy an all-in-one solar generator or assemble separate components.
Solar generators offer convenience—everything’s integrated and ready to use.
However, you’re locked into their inverter efficiency and battery lifespan specifications.
Separate setups give you flexibility to upgrade individual components and choose premium batteries or inverters.
You’ll optimize performance but need technical knowledge for proper connections.
I’ve found generators work best for beginners wanting simplicity, while component systems suit experienced campers prioritizing customization and long-term value through replaceable parts.
Battery chemistry also matters—LiFePO4 portable power stations typically offer 3,000+ cycles compared to standard lithium-ion’s 500-1,000 cycles, making them ideal for frequent camping trips despite higher upfront costs.
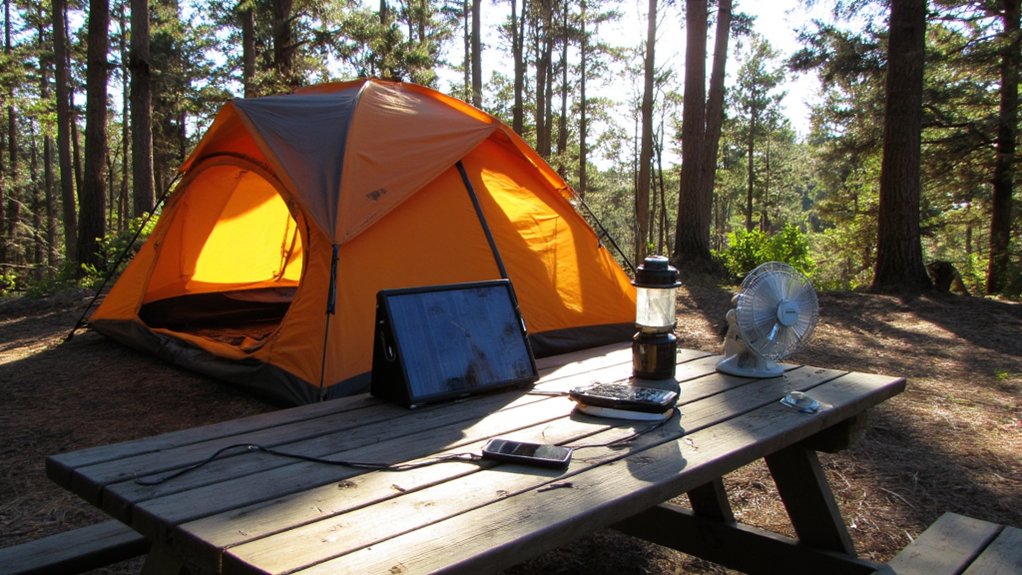
Getting Maximum Output: Panel Angle and Shade Management
Whether you’ve chosen a complete generator or built a custom setup, your solar panels won’t deliver their rated wattage unless you position them correctly.
Panel tilt dramatically affects output—aim perpendicular to the sun’s rays.
I adjust mine throughout the day, typically starting at a 30-45 degree angle in morning, flattening at noon, then angling opposite by afternoon.
Shade mapping is equally critical.
Even partial shade on one panel can reduce system output by 50% or more.
Before setting up camp, I observe shade patterns cast by trees and terrain, then position panels in areas receiving unobstructed sunlight during peak hours.
Cleaning, Storage, and Simple Fixes for Common Problems
Maintaining your solar panels requires minimal effort but pays dividends in consistent power output.
I’ll wipe the surface with a microfiber cloth and water to remove dust, dirt, and debris that reduce efficiency.
For stubborn grime, I use mild soap, avoiding harsh chemicals that damage protective coatings.
Regarding storage practices, I keep panels in dry locations away from extreme temperatures.
I’ll inspect connections periodically for corrosion and confirm cables aren’t frayed.
Common maintenance tips include checking voltage output with a multimeter and verifying charge controller settings.
If performance drops, I troubleshoot connections first before assuming panel failure.
When storing panels for extended periods, I ensure they’re completely dry and stored loosely to prevent coating delamination and material degradation.
Conclusion
I’ve guided you through the fundamentals, but now you hold the compass. Your solar setup isn’t just equipment—it’s a lifeline connecting you to the grid you left behind while keeping you anchored in wilderness. The sun becomes your silent partner, filling batteries like wells in the desert. Start small, learn from each sunrise, and remember: independence isn’t about having unlimited power; it’s about understanding exactly how much light you need to thrive off-grid.

A Guide to Hard-Sided vs. Soft-Sided High-Performance Coolers
Find out which high-performance cooler saves you money and keeps food colder longer before making this expensive mistake.

How to Properly Store High-End Tents to Prevent Mold
Clever tent storage prevents costly mold damage—discover the climate-controlled secrets that protect your investment from humidity and ensure decades of adventures.

The Science of Tent Waterproofing: Polyurethane vs. Silicone
Wondering which tent coating truly keeps you dry—polyurethane’s affordability or silicone’s decade-long durability and lighter weight?
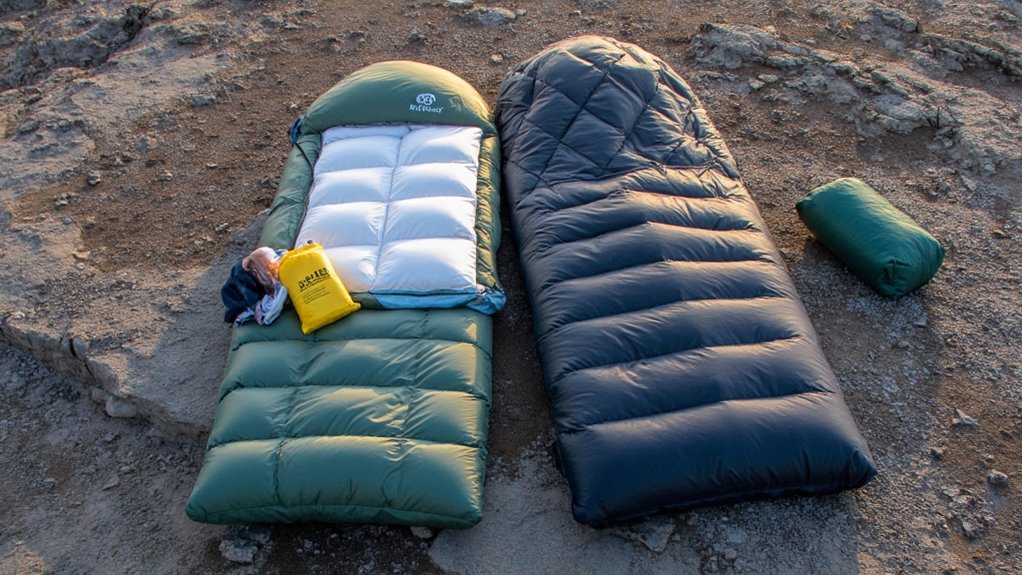
How to Choose Between Down and Synthetic Sleeping Bags
Knowing which sleeping bag insulation keeps you warmest could mean the difference between comfort and a miserable night outdoors.
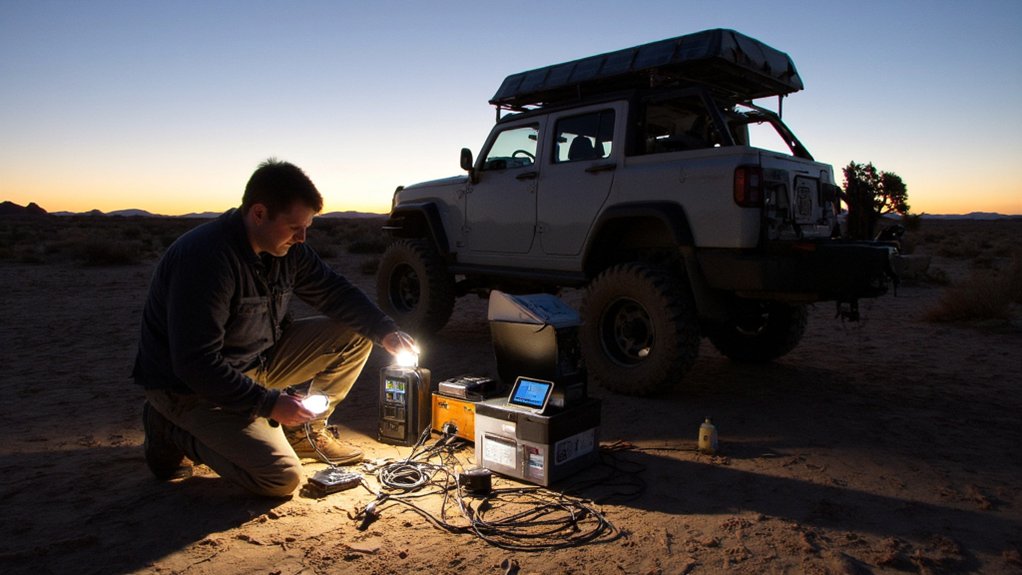
How to Calculate Your Power Needs for an Overlanding Trip
Master overlanding power calculations by converting device watts to amp-hours, but the depth-of-discharge secret changes everything.