Wondering which portable power station battery lasts longer and saves money—lithium-ion or LiFePO4—before your next adventure or emergency strikes?
The Beginner’s Guide to Portable Solar Power for Camping
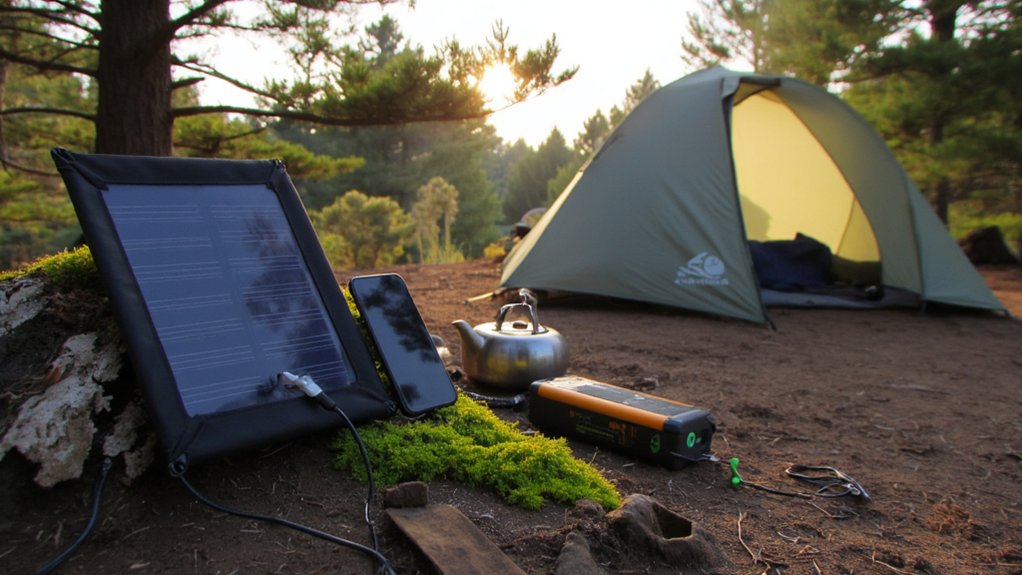
I’ll help you size a portable solar setup by first calculating your daily power needs—list each device’s wattage and multiply by hours of use, then add a 25% buffer. A 100-watt panel generates about 400 watt-hours on sunny days, enough for most weekend trips. You’ll need three main components: a solar panel to capture energy, a battery to store it, and a charge controller to prevent overcharging. Below, I’ll walk you through choosing between all-in-one generators versus building your own system, plus maintenance tips to keep everything running smoothly.
How Much Solar Power Do You Really Need While Camping?
How do you calculate your actual power needs before investing in a solar setup?
I recommend starting with power budgeting—list every device you’ll charge and its wattage.
Your phone draws about 5-10 watts, a laptop 50-60 watts, and LED lights 5-15 watts.
Multiply each device’s wattage by daily usage hours to find your total watt-hours needed.
Most weekend campers need 100-200 watt-hours daily, while extended trips with heavier camping loads require 300-500 watt-hours.
Add 25% buffer for cloudy days and inefficiencies.
Once you know your power requirements, you can select the right solar panel types and wattage to match your consumption.
This calculation prevents overspending on excessive capacity or frustrating power shortages mid-trip.
What Each Component Does: Panels, Batteries, and Charge Controllers
Understanding what each component actually does will save you from buying incompatible gear or creating safety hazards.
The panel purpose is converting sunlight into electrical current.
Your battery function involves storing that energy for later use when the sun isn’t shining.
The charge controller sits between them, preventing overcharging that damages batteries and ensuring best charging rates.
Think of it as a traffic cop managing power flow.
Without proper coordination between these three components, you’ll face reduced efficiency, shortened battery life, or complete system failure.
Each piece plays a critical role in your camping power setup.
Before purchasing any components, calculate your total watt-hour consumption from all devices you plan to run to properly size your entire system.
Matching Solar Panel Wattage to Your Power Budget
Now that you know how panels, batteries, and charge controllers work together, you need to determine the right panel size for your actual power needs.
Proper panel sizing starts with calculating your daily watt-hours.
List every device you’ll charge, multiply its watts by hours used, then add 20% for inefficiency.
A 100-watt panel generates roughly 400 watt-hours on sunny days.
Cost tradeoffs matter here—bigger panels recharge faster but weigh more and cost more.
I recommend starting with your must-have devices, then deciding if convenience items justify additional panel capacity and expense.
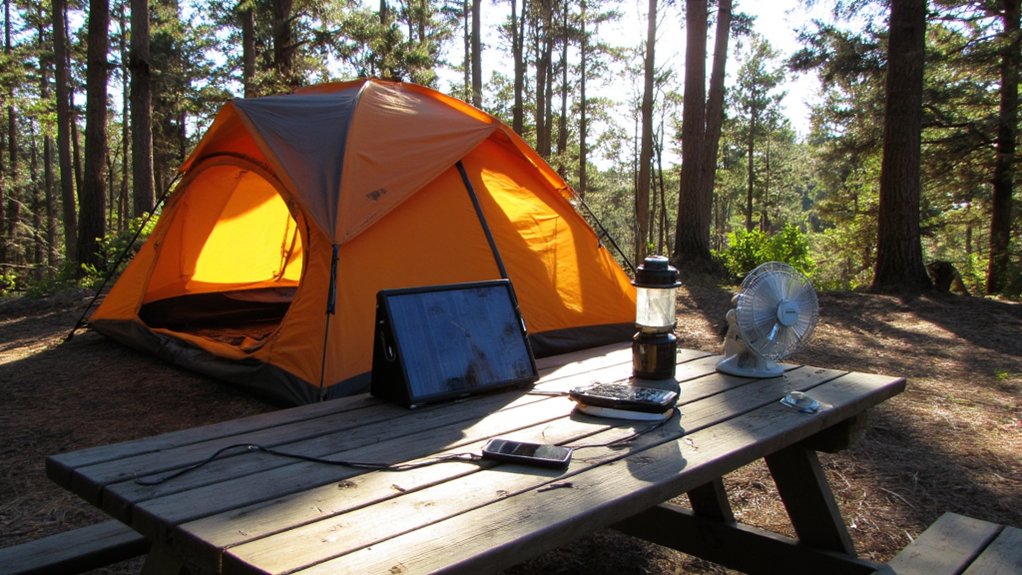
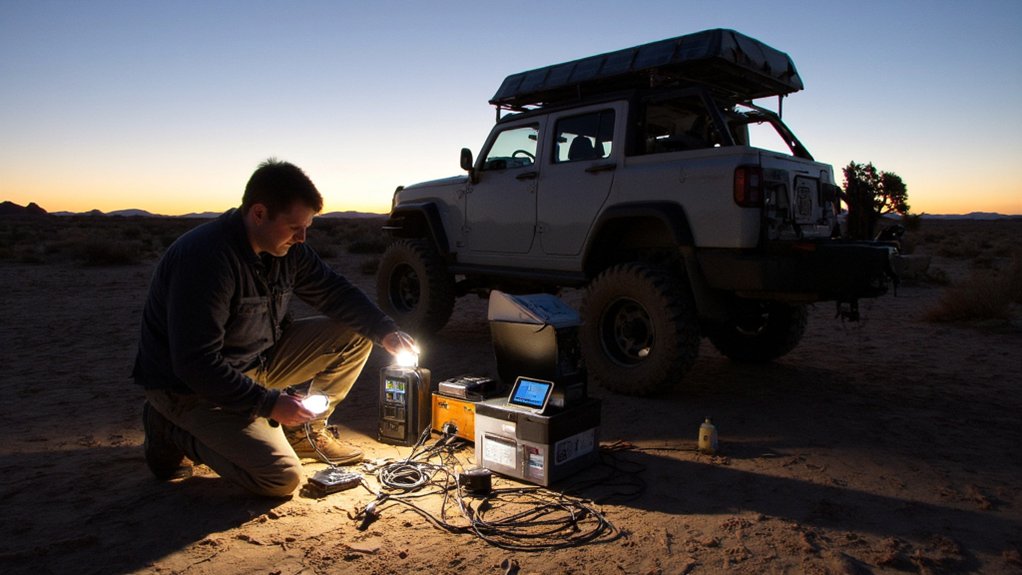
Complete Solar Generators vs. Separate Battery Setups
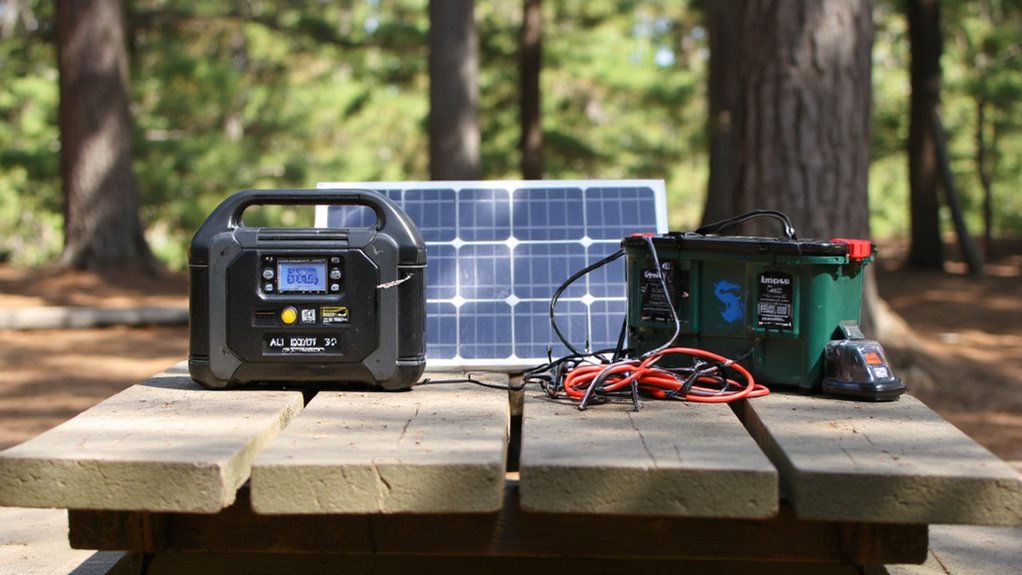
Once you’ve sized your power needs, you’ll face a critical purchasing decision: buy an all-in-one solar generator or assemble separate components.
Solar generators offer convenience—everything’s integrated and ready to use.
However, you’re locked into their inverter efficiency and battery lifespan specifications.
Separate setups give you flexibility to upgrade individual components and choose premium batteries or inverters.
You’ll optimize performance but need technical knowledge for proper connections.
I’ve found generators work best for beginners wanting simplicity, while component systems suit experienced campers prioritizing customization and long-term value through replaceable parts.
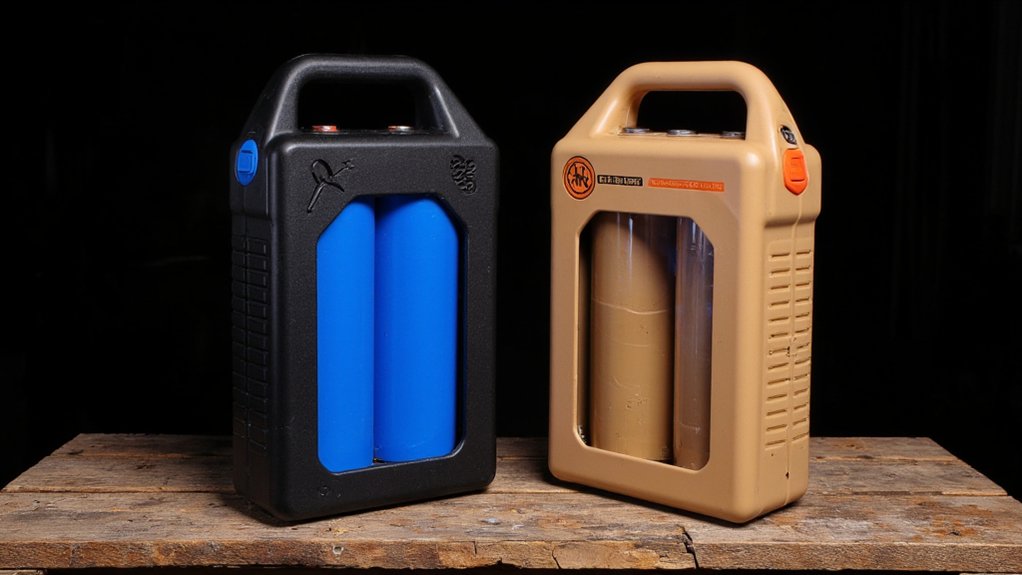
Battery chemistry also matters—LiFePO4 portable power stations typically offer 3,000+ cycles compared to standard lithium-ion’s 500-1,000 cycles, making them ideal for frequent camping trips despite higher upfront costs.
Getting Maximum Output: Panel Angle and Shade Management
Whether you’ve chosen a complete generator or built a custom setup, your solar panels won’t deliver their rated wattage unless you position them correctly.
Panel tilt dramatically affects output—aim perpendicular to the sun’s rays.
I adjust mine throughout the day, typically starting at a 30-45 degree angle in morning, flattening at noon, then angling opposite by afternoon.
Shade mapping is equally critical.
Even partial shade on one panel can reduce system output by 50% or more.
Before setting up camp, I observe shade patterns cast by trees and terrain, then position panels in areas receiving unobstructed sunlight during peak hours.
Cleaning, Storage, and Simple Fixes for Common Problems
Maintaining your solar panels requires minimal effort but pays dividends in consistent power output.
I’ll wipe the surface with a microfiber cloth and water to remove dust, dirt, and debris that reduce efficiency.
For stubborn grime, I use mild soap, avoiding harsh chemicals that damage protective coatings.
Regarding storage practices, I keep panels in dry locations away from extreme temperatures.
I’ll inspect connections periodically for corrosion and confirm cables aren’t frayed.
Common maintenance tips include checking voltage output with a multimeter and verifying charge controller settings.
If performance drops, I troubleshoot connections first before assuming panel failure.
When storing panels for extended periods, I ensure they’re completely dry and stored loosely to prevent coating delamination and material degradation.
Conclusion
I’ve guided you through the fundamentals, but now you hold the compass. Your solar setup isn’t just equipment—it’s a lifeline connecting you to the grid you left behind while keeping you anchored in wilderness. The sun becomes your silent partner, filling batteries like wells in the desert. Start small, learn from each sunrise, and remember: independence isn’t about having unlimited power; it’s about understanding exactly how much light you need to thrive off-grid.
How to Calculate Your Power Needs for an Overlanding Trip
Master overlanding power calculations by converting device watts to amp-hours, but the depth-of-discharge secret changes everything.